- Home
- Plumbing Services
- Bathroom Plumbing
- Broken Pipe Replacement
- Commercial Plumbing
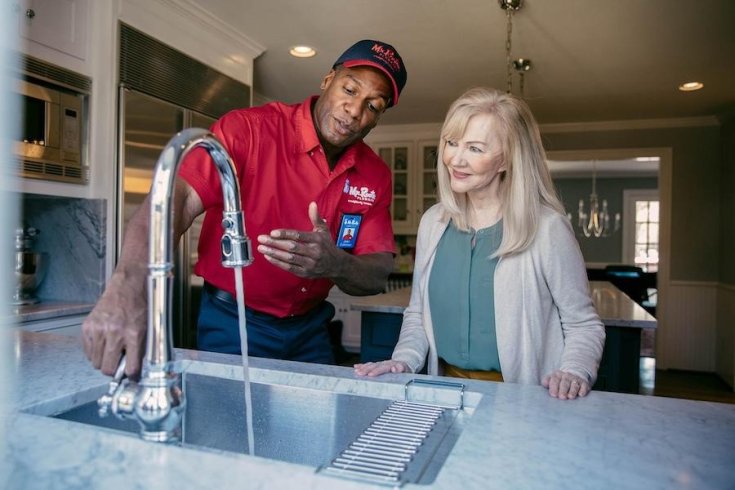
- Faucet Replacement
- Garbage Disposals
- Gas Line Repair
- Hydro Jetting
- Kitchen Plumbing
- Kitchen Sink Replacement
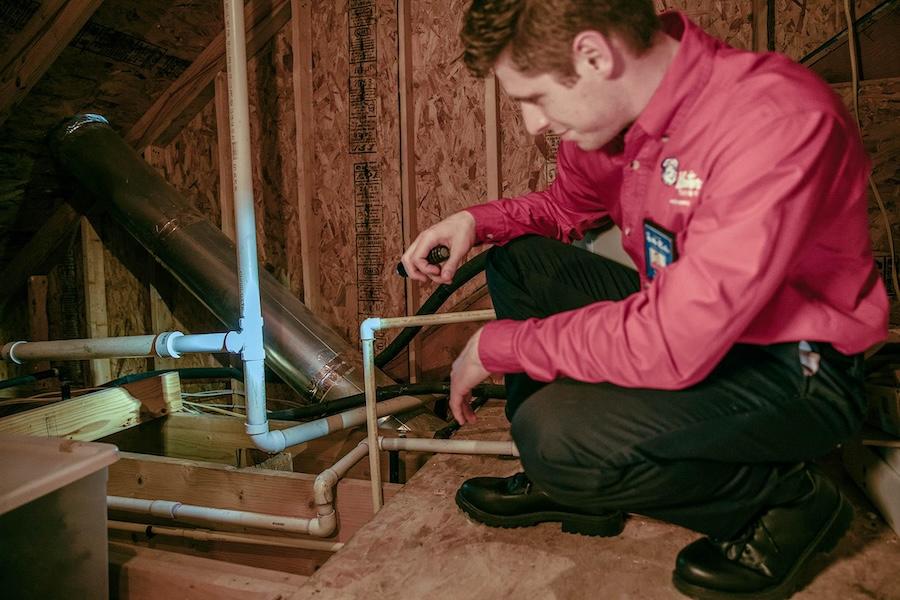
- Leak Detection
- Repiping
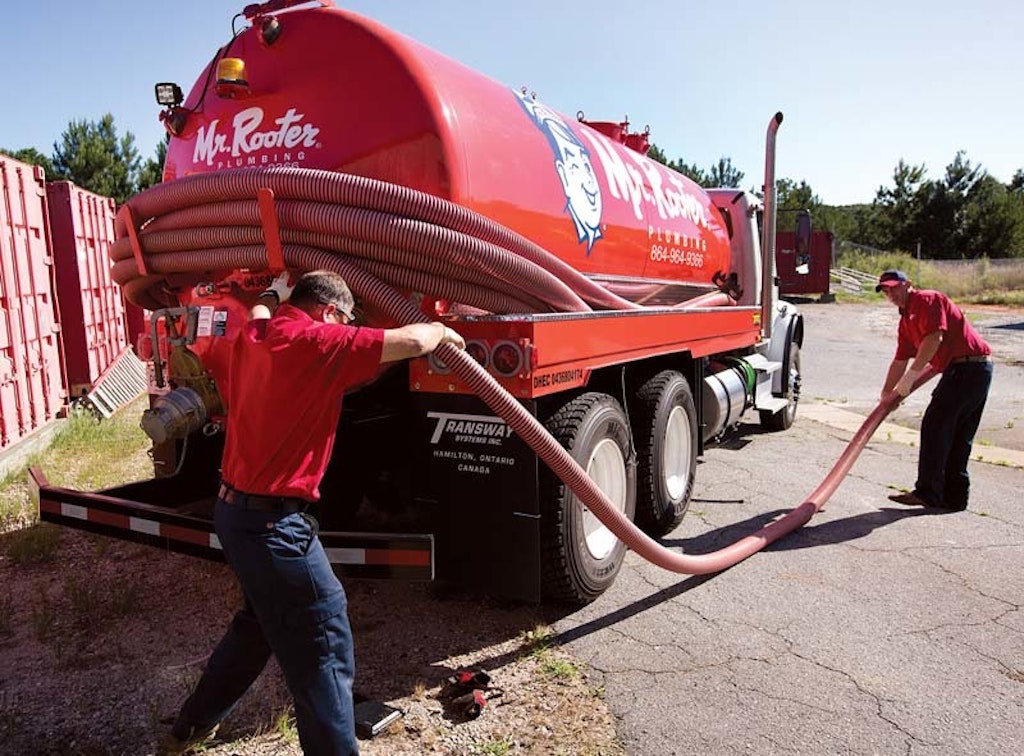
- Septic Service
- Shower Repair
- Sump Pumps
- Toilet Replacement
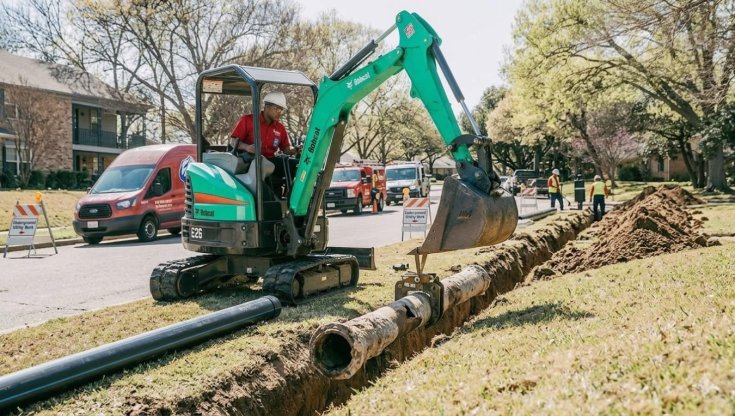
- Underground Utility Plumbing
- Water Filtration Installation
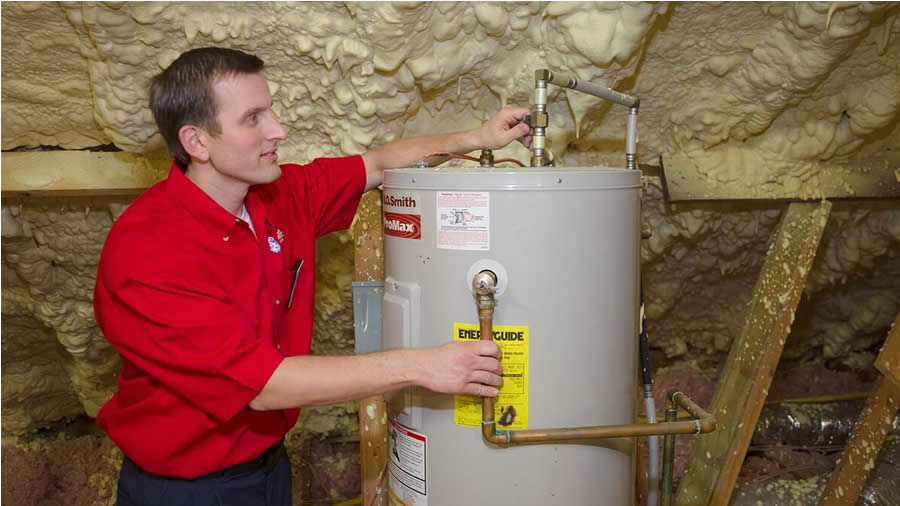
- Water Heaters
- Water Line Replacement
- Water Softeners
- Drain Cleaning
- Sewer Repair
- Service Areas
- Adelanto, CA
- Apple Valley, CA
- Arcadia, CA
- Arrowhead Farms, CA
- Avocado Heights, CA
- Azusa, CA
- Baldwin Park, CA
- Belltown, CA
- Belvedere Heights, CA
- Big Bear Lake, CA
- Bloomington, CA
- Blue Jay, CA
- Calimesa, CA
- Chino Hills, CA
- Chino, CA
- City of Industry, CA
- Claremont, CA
- Colton, CA
- Corona, CA
- Covina, CA
- Crestline, CA
- Diamond Bar, CA
- Duarte, CA
- Eastvale, CA
- El Sobrante, CA
- Etiwanda, CA
- Fontana, CA
- Glendora, CA
- Grand Terrace, CA
- Hacienda Heights, CA
- Helendale, CA
- Hesperia, CA
- High Grove, CA
- Highland, CA
- Home Gardens, CA
- Irwindale, CA
- Jurupa Valley, CA
- La Mirada, CA
- La Puente, CA
- La Sierra, CA
- Lake Arrowhead, CA
- Loma Linda, CA
- Magnolia Center, CA
- Mentone, CA
- Minnelusa, CA
- Mission Grove, CA
- Monrovia, CA
- Montclair, CA
- Muscoy, CA
- Norco, CA
- Oak Glen, CA
- Oak Hills, CA
- Ontario, CA
- Orangecrest, CA
- Oro Grande, CA
- Phelan, CA
- Pico Rivera, CA
- Pinon Hills, CA
- Presidential Park, CA
- Rancho Cucamonga, CA
- Redlands, CA
- Rialto, CA
- Riverside, CA
- Rowland Heights, CA
- Running Springs, CA
- San Bernardino, CA
- Santa Fe Springs, CA
- Sierra Madre, CA
- Spring Valley Lake, CA
- Sycamore Canyon Park, CA
- Upland, CA
- Valyermo, CA
- Victorville, CA
- Walnut, CA
- West Covina, CA
- Whittier, CA
- Woodcrest, CA
- Wrightwood, CA
- Yucaipa, CA
- Coupons
- Blog
- Videos
- Contact Us
- FAQ
- About Us
- Reviews
- Locations
Call This Thursday to Get $50 OFF
Hire a Plumber in Riverside, San Bernardino & Victorville, CA area?
Call us Now to Get $50 OFF.
4.8/5
Ratings based on 6379 reviews
Local Plumbers, Local Reviews


.webp)